Support and Resistance Explained With Real Charts (Forex Lesson 7)
Published Oct 26, 2026, 03:00 PM · 1 min read
New on the MCP Labs Forex channel — Support and Resistance Explained With Real Charts (Forex Lesson 7). The full video is embedded below, with notes and next steps after it.
What this video covers
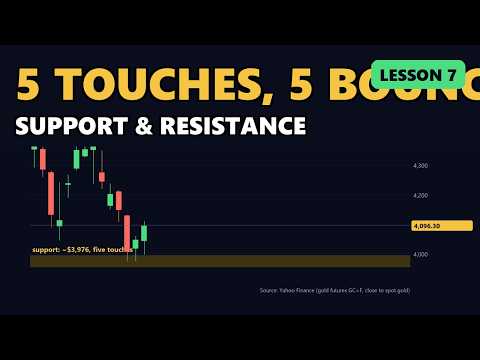
Lesson 7: support and resistance with real 2025-2026 charts. Why levels work, how to draw them properly as zones, trading ranges (EURUSD in July 2026), role reversal (gold around $4,400 turning from resistance into support), combining levels with candles, and the mistakes that ruin most beginners' charts.
Lesson 7 of the free course "Forex From Zero to Automated" by MCP Labs Forex.
Next lesson: Lesson 8: Trends and the 50 EMA
QUIZ: EURUSD has bounced from a support zone between 1.1365 and 1.1375 four times. Now it prints a bullish pin bar at 1.1380. Where is a sensible place for your stop loss, and why? Answer in the comments.
CHAPTERS
0:00 Gold bounced at the same price 5 times
0:56 Why levels work
1:37 How to draw levels properly
2:14 Ranges: EURUSD in July
3:15 Role reversal: gold at $4,400
3:51 Levels + candles
4:14 The mistakes
4:52 Your questions
6:14 Recap, quiz and homework
Sources: Levels found from pivot highs/lows in Yahoo Finance data (gold futures GC=F, EURUSD), Oct 2025 to Oct 2026.
Education, not financial advice. Trading forex, gold and CFDs on margin is high risk; practise on a demo account first. Narration voice is AI-generated.
A product of MCP Labs, created by Tshivhidzo (Moss) Mbedzi.
Run the EA from these videos
Everything shown here runs on Apex Drawdown Zero for MT5 — a selective MT5 Expert Advisor with a stop-loss on every trade and risk-based sizing (V9 has no account-level drawdown halt; V12 does). See more clips on our videos page or subscribe on YouTube.
---
*Any results, returns or win rates mentioned in this video are examples from specific accounts and periods and are not typical or guaranteed. Trading carries substantial risk of loss. Past performance is not indicative of future results — read our full risk disclosure.*